


Simple DIY Magic Box: Woodworking with Basic Tools
Hey there, fellow crafters! Ever wanted to build something cool and magical with just a few basic tools? Well, you're in luck! Today we're diving into the world of DIY magic boxes. Think of it as a miniature stage for all your tricks and illusions, ready to wow your friends and family.
Don't worry, this project isn't about summoning spirits or bending time (though wouldn't that be cool?). It's about taking a simple piece of wood and transforming it into a captivating little box that holds the power of surprise and wonder. It's all about creating a sense of mystery and excitement with just a bit of crafting magic.
What You'll Need
Let's start with the essentials for our magic box. Don't worry, it's a pretty basic list, and you probably have most of these things lying around the house already:
- A piece of plywood or a sturdy board (think something around 12" x 12").
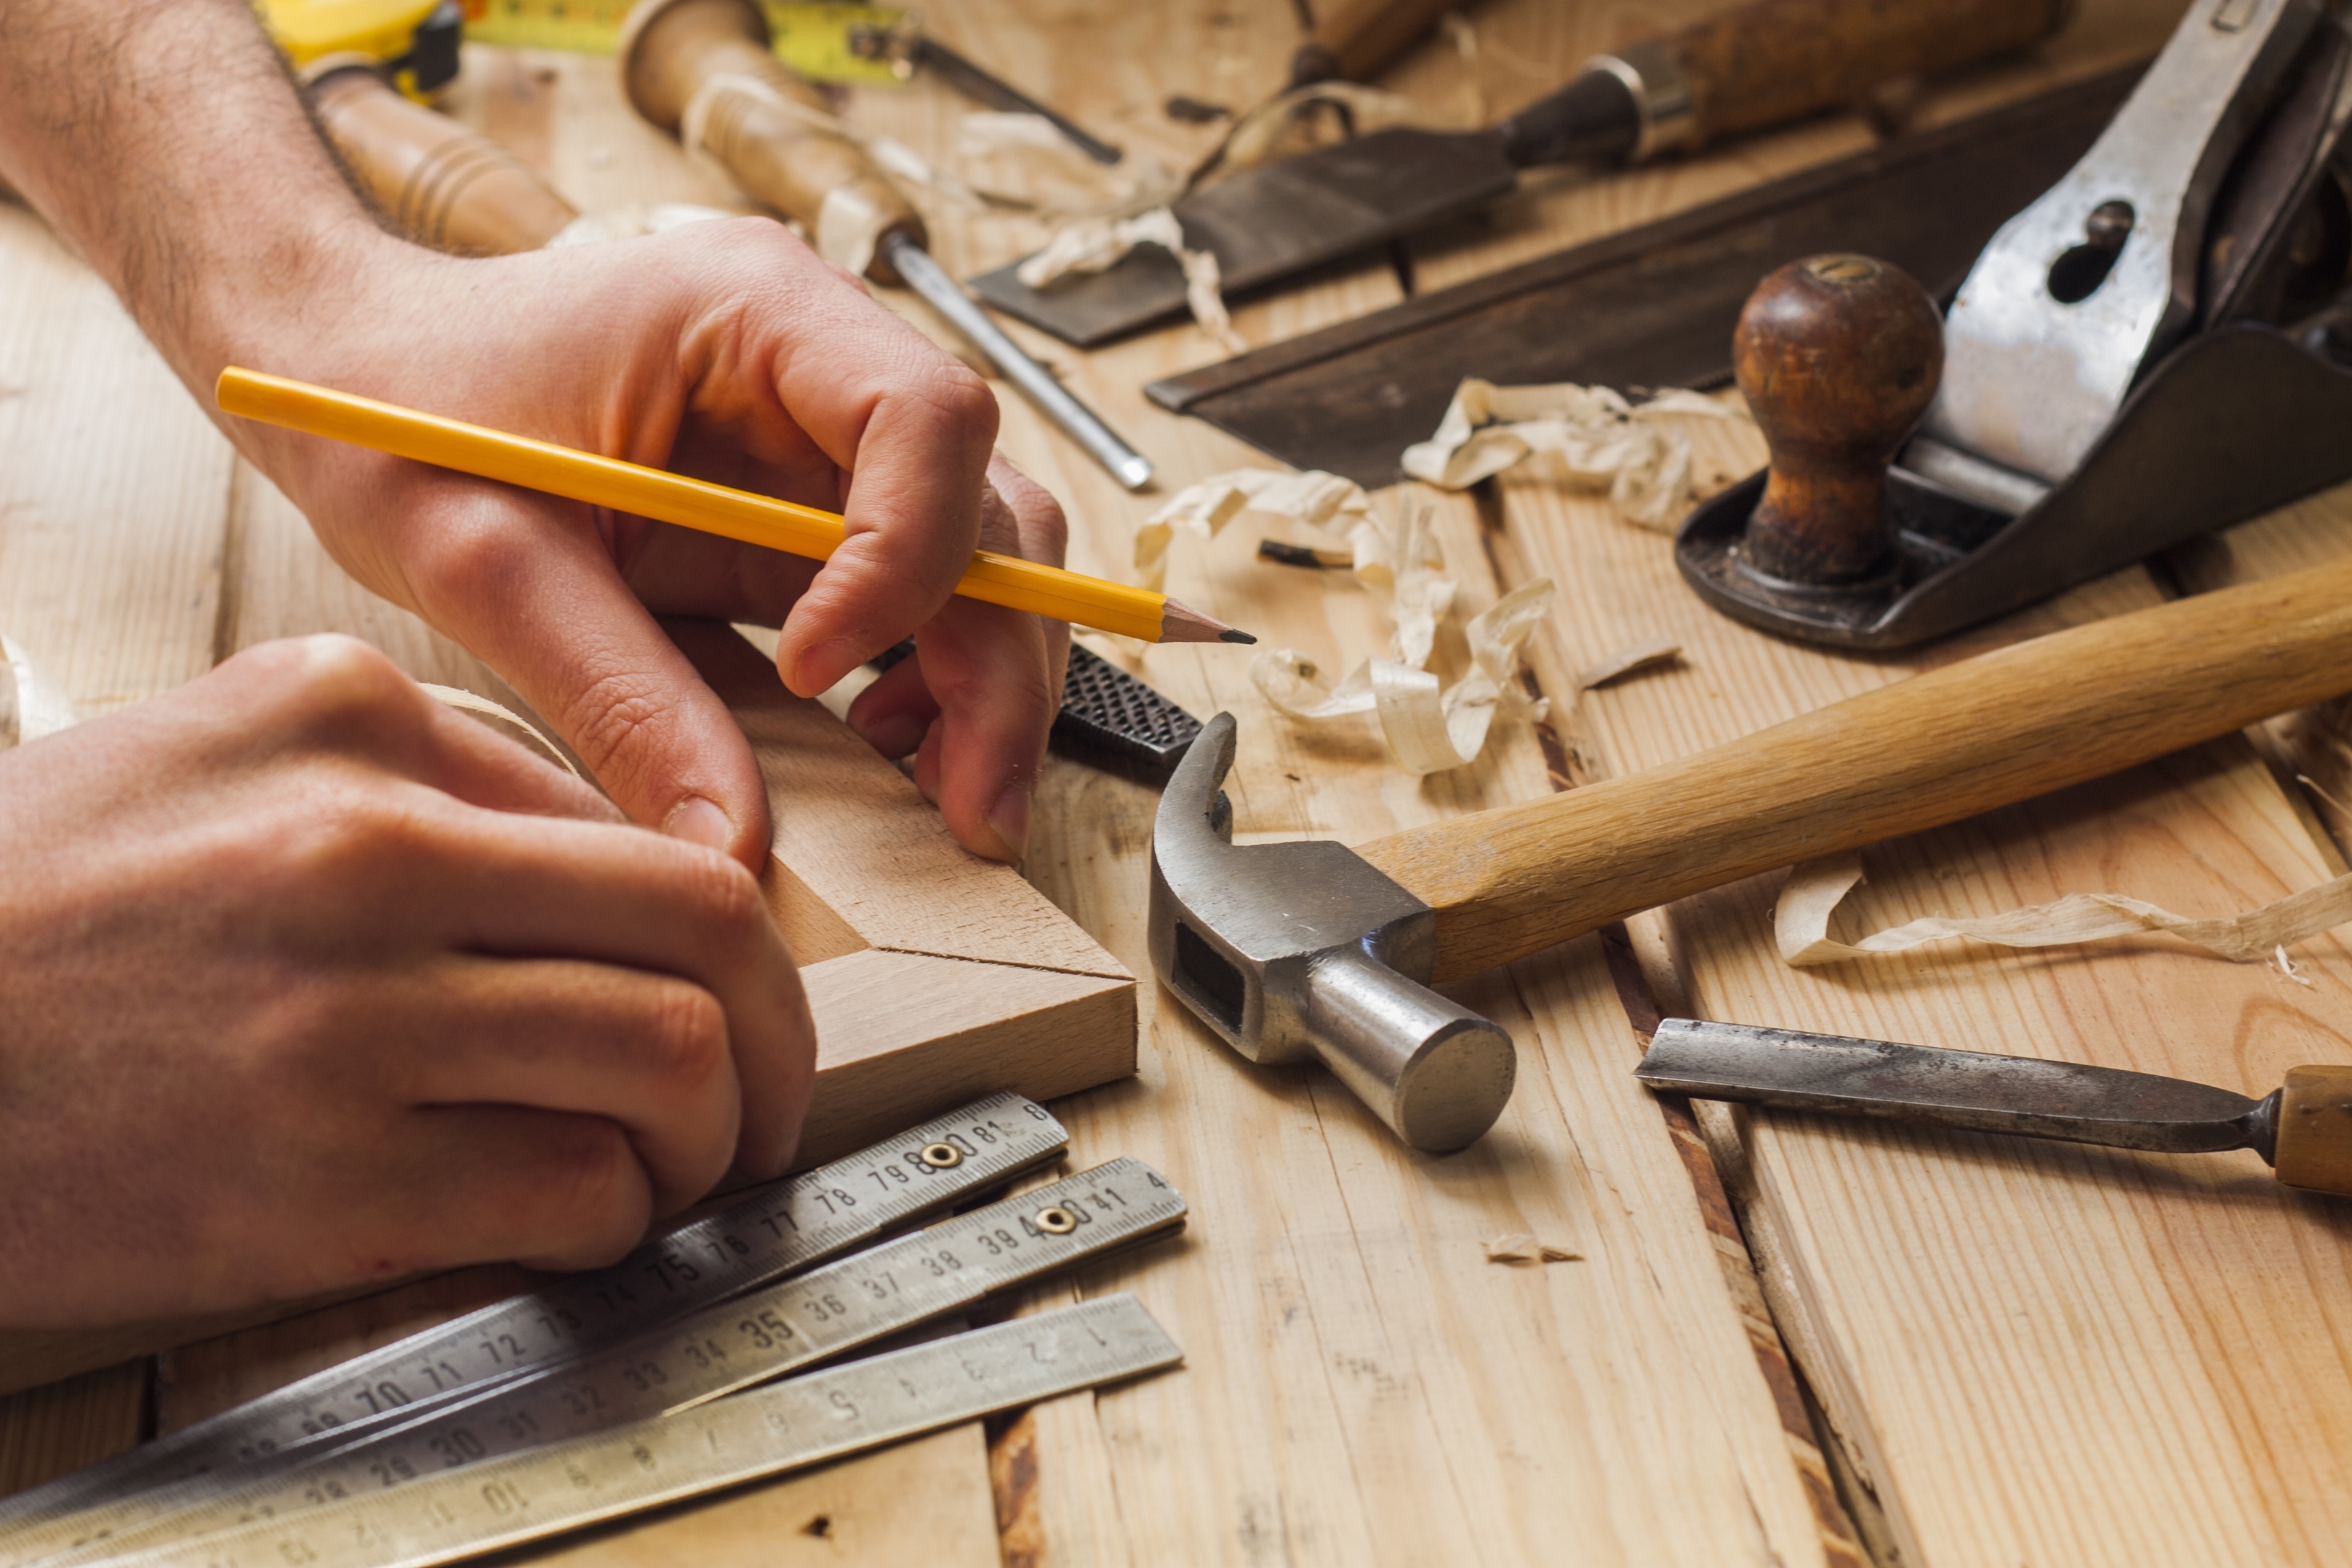
- A ruler or tape measure
- A pencil
- A saw (handsaw, jigsaw, or circular saw will work)
- A drill
- Screws or nails
- Sandpaper (fine grit)
- Optional: Wood glue, paint, decorative elements like buttons, beads, or fabric scraps.
See, I told you it wasn't complicated. You can even get creative and substitute some of these items with things you might have on hand, like a cutting mat instead of plywood.
The Construction Process: Let's Get Building!
Now, the fun part! It's time to make your magic box come to life. Don't worry if you're a newbie to woodworking, this is a super beginner-friendly project:
Step 1: Planning Your Box
First things first, decide what kind of box you want. Will it be a simple cube, a rectangular box, or something more unique? Maybe even a box with a secret compartment? The possibilities are endless! Sketch your design on a piece of paper to get a visual idea.
Once you have a design in mind, measure and mark your wood for cutting. Remember to account for the thickness of your wood when making your measurements, especially if you plan to have flaps or lids. You'll need to cut out four sides for your box and possibly a base and a lid.
Step 2: Cutting the Pieces
Now comes the exciting part - cutting! Make sure you have a safe and steady work surface. If you're using a handsaw, use a sawhorse to support your wood. If you're using a jigsaw or circular saw, make sure you have the correct blades and safety equipment like goggles and hearing protection.
Carefully cut out your box sides, base, and lid (if you're making one) following your marked lines. You can use a pencil to make fine adjustments if needed. Take your time and work slowly to avoid mistakes.
Step 3: Sanding for Smoothness
Time to make those rough edges disappear! Sand the edges of all your box pieces with sandpaper, starting with a coarser grit and finishing with a fine grit for a smooth, polished finish. This is super important for safety and also gives your box a more professional look.
Step 4: Assembly Time!
Now that your pieces are prepped, let's put them together! Start by drilling pilot holes into the corners of your box sides to avoid splitting the wood when you screw or nail them together. You can use wood glue for extra strength, though it's not strictly necessary. If you're going for a super secure fit, use a slightly smaller screw size than the pilot hole you've drilled.
Assemble your box carefully, making sure the corners are aligned. Don't worry if it looks a bit uneven at first, you can always adjust the pieces later. Let the glue dry completely if you used it before moving on.
Step 5: Adding the Lid (Optional)
If you decided to create a lid for your box, attach it using hinges or magnets. For a more professional look, you can use small hinges from your local hardware store. For a simple and quick option, you can attach the lid using magnets â€" just drill holes and insert the magnets into the lid and the box, making sure they line up.
Step 6: Decorations and Personalization
The fun part! Now is the time to make your box truly magical. You can add anything you can imagine - paint it a fun color, add glitter, attach buttons, or even decoupage with fabric scraps. Let your imagination run wild!
If you want to give your magic box a secret compartment, you can build a small box inside the larger box or hide a hidden space within the box's walls. Get creative with the design and make it unique to your own style.
Magic Box Ideas: Let's Make It Special
Alright, now that you have a basic understanding of how to build your box, let's get inspired and make it truly magical. Here are some ideas:
- The Mystery Box: This is your classic, simple magic box. Decorate it with a mysterious design and use it to perform basic tricks like disappearing coins or revealing hidden objects.
- The Illusion Box: This box can be used to create optical illusions, maybe with a moving image or a mirror effect. Get creative with your design and explore the world of visual trickery!
- The Treasure Chest: This box can hold "treasures" - small toys, tokens, or trinkets - and reveal them to your audience with a flourish. You can add a lock and key for an extra touch of mystery.
- The Secret Message Box: This box can hide secret messages, riddles, or clues for your audience to discover. Use a hidden compartment to store the message, and you can even add a hidden trigger to reveal it.
- The Wishing Box: This box can be used to hold wishes, dreams, or goals written on slips of paper. You can add a slot in the lid to drop in the wishes, making it a fun and interactive way to share hopes and dreams.
These are just a few ideas to get you started. The possibilities are endless! The most important thing is to have fun and be creative with your design. Don't be afraid to experiment and see what you can come up with.
Final Touches and Performance Time!
Once your box is built and decorated, it's time to think about the performance. How will you reveal the magic? Will you use a simple flourish, a dramatic reveal, or something more elaborate? You can even learn some basic magic tricks to incorporate into your show.
The best part about DIY magic boxes is that they allow you to customize the experience to match your personality and style. Let your imagination be your guide and enjoy the process of creating your own unique magic box!
So, what are you waiting for? Grab your tools, gather your materials, and let's create some magic together! Happy crafting!
No comments:
Post a Comment
Note: Only a member of this blog may post a comment.