


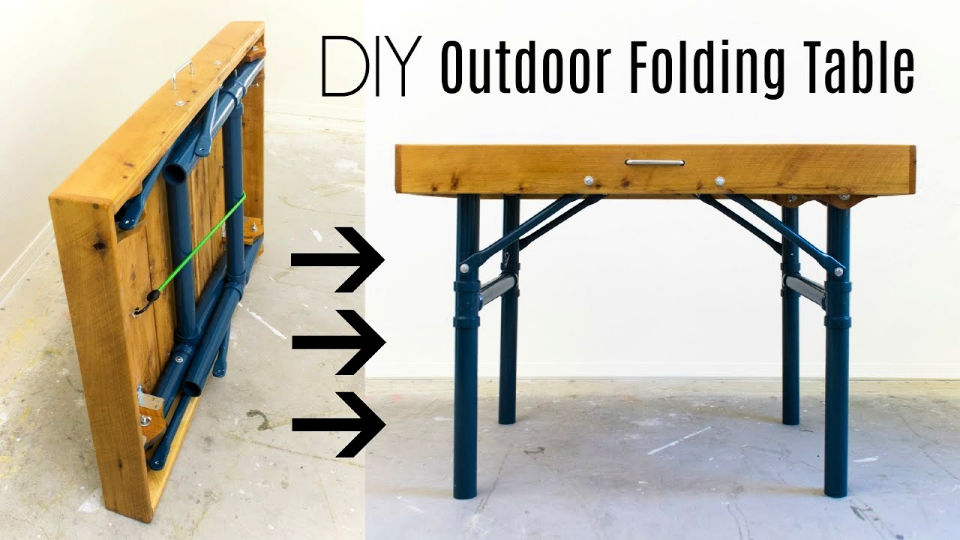
Alright, so you're ready to build a wooden folding picnic table, huh? That's awesome! It's a great project, perfect for those sunny days in the park or backyard gatherings. Don't worry, you don't need to be a seasoned carpenter to tackle this one. With a little patience and some handy tools, you can create a beautiful and functional table that will be the star of your next picnic.
First things first, let's talk about materials.
You'll need some good ol' lumber. Here's a breakdown of what you'll need:
Tabletop: Two pieces of 1x12 lumber, 6 feet long. These will form the top of your table.
Legs: Four pieces of 2x4 lumber, 30 inches long. These will be the sturdy legs supporting your tabletop.
Crossbars: Two pieces of 2x4 lumber, 28 inches long. These will connect the legs and provide extra stability.
Hinges: Two heavy-duty hinges designed for outdoor use. These will connect your tabletop to the legs.
Fasteners: Wood screws, wood glue, and finishing nails. You'll need a variety of sizes for this project, so check your local hardware store.
Finishing touches: Wood stain, paint, or sealant (optional, but they'll add a touch of personality and protect your table).
Now, let's get to the tools:
Saw: A circular saw, jigsaw, or handsaw will be your best friend for cutting the lumber to size.
Drill: For drilling pilot holes before driving in screws. You'll want to make sure you use drill bits that are slightly smaller than your screws.
Screwdriver: A cordless screwdriver will make life a lot easier, but a manual one will do the trick too.
Tape measure: Always double-check your measurements before making a cut!
Clamps: To hold your pieces together while you're assembling them.
Level: To ensure your tabletop and legs are perfectly level and your table won't wobble.
Sandpaper: To smooth out any rough edges and give your table a professional look.
Let's get started!
Step 1: Cutting the lumber
First, grab your trusty saw and cut your two tabletop pieces to 6 feet long. Then, cut your four leg pieces to 30 inches long. Finally, cut your two crossbars to 28 inches long. Remember to double-check your measurements before you start cutting!
Step 2: Assembling the legs
Lay out your four leg pieces in a rectangle, with the shorter ends facing each other. Attach the crossbars to the inside of the legs using wood screws and wood glue. Make sure the crossbars are parallel to each other and centered on the legs. Use clamps to hold everything in place while the glue dries.
Step 3: Attaching the hinges
Now it's time to attach the hinges. Position the hinges on the underside of the tabletop, about 6 inches from the end. Align the hinges with the top edges of the legs, making sure they are flush with the tabletop. Attach the hinges to the tabletop using wood screws.
Step 4: Attaching the tabletop
With the hinges attached, carefully lay the tabletop onto the legs. Make sure the hinges are aligned with the leg frame. Use wood screws to attach the tabletop to the legs, securing it to the hinge plates.
Step 5: Finishing touches
Now for the fun part! You can sand down your table, giving it a smooth, polished look. Then, you can apply a stain, paint, or sealant to give your table a unique personality and protect it from the elements. Let the finish dry completely before using your table.
And there you have it! A beautiful, sturdy, and folding wooden picnic table.
Here are some extra tips and ideas to elevate your DIY project:
Consider using different types of wood: Cedar, redwood, or teak are all great options for outdoor furniture, as they are naturally resistant to decay.
Add a built-in cooler: You can build a simple cooler compartment into your table using a small insulated box.
Create a bench with the same design: You can easily build matching benches to create a complete picnic set.
Use different colors and finishes: Get creative with the finish to make your table stand out. You could go with a rustic natural wood look, a vibrant painted finish, or even a distressed look.
Now go out there and enjoy your handiwork! You've created a perfect spot for outdoor meals, games, and gatherings. Remember, you can always adapt this design to your liking. So have fun, be creative, and enjoy the process!
No comments:
Post a Comment
Note: Only a member of this blog may post a comment.