


Hey there, aspiring woodworkers! Ready to unleash your inner craftsman and build something truly magical? We're talking about a magic box, a treasure chest of wonder that'll leave you and your friends utterly amazed. Don't worry, we're not talking about illusions or tricks (though those are fun too!), but about building a beautiful, functional box that'll hold all your special treasures, from trinkets to memories.
This project is perfect for beginners, and I'm gonna walk you through it step by step, like a trusty woodworking guru. Think of me as your guide through the magical realm of wood, saws, and glue. You'll be surprised at how easy it is to create something truly special with just a few basic tools and a little bit of patience.
Gather Your Magic Ingredients
First things first, let's gather our magic ingredients:
Wood: This is where you get to choose your magical potion! For beginners, I recommend starting with something easy to work with, like pine or plywood. You can find these at most hardware stores.
Saw: You'll need a way to cut your wood to size. A handsaw or a jigsaw will do the trick.
Measuring tape: To ensure your cuts are precise and your box comes together perfectly.
Pencil: For marking your wood and making those magical lines.
Wood glue: To hold everything together, like a magical spell.
Clamps: These will help keep your pieces secure while the glue dries.
Sandpaper: To smooth out any rough edges and give your box a polished look.
Finishing: This is where the real magic happens! You can stain your box, paint it with vibrant colors, or even use a clear varnish to show off the natural beauty of the wood.
Let's Get Crafting: The Magic Box Blueprint
Alright, let's get to the exciting part â€" building your magic box! We're going to create a simple, rectangular box with a hinged lid. Here's a basic blueprint to guide you:
Base and Lid: Cut four pieces of wood to the desired length and width for the base and four more for the lid. Make sure the lid pieces are slightly larger to create an overhang.
Sides: Cut four pieces of wood to the height of your box. These will form the sides.
Hinges: Choose hinges that fit the thickness of your wood. You'll need two hinges for the lid.
Latch or Clasp: This will hold the lid closed.
Crafting the Magic: Step-by-Step Guide
1. Mark & Cut: Measure and mark your wood pieces carefully using your pencil and measuring tape. Make your cuts using your saw, ensuring they are accurate.
2. Assemble the Box: Glue the sides to the base, ensuring the corners are perfectly aligned. Clamp them together firmly until the glue dries.
3. Lid Time: Repeat the process for the lid, attaching the sides to the lid base.
4. Hinging the Magic: Attach the hinges to the lid and the box. Make sure they are evenly spaced.
5. Latching it Up: Install your latch or clasp to secure the lid.
6. Finishing Touches: Sand your box thoroughly to create a smooth finish. Now comes the fun part! Stain, paint, or varnish your box to your heart's content.
Adding a Magical Twist
Remember, this is your box, so feel free to unleash your creativity! Here are a few ideas to add a unique touch:
Inlay: Add a decorative inlay to the lid or the front of the box. Use contrasting wood or even create a pattern with different colored wood pieces.
Carving: Get creative with a wood carving knife and add intricate designs to your box.
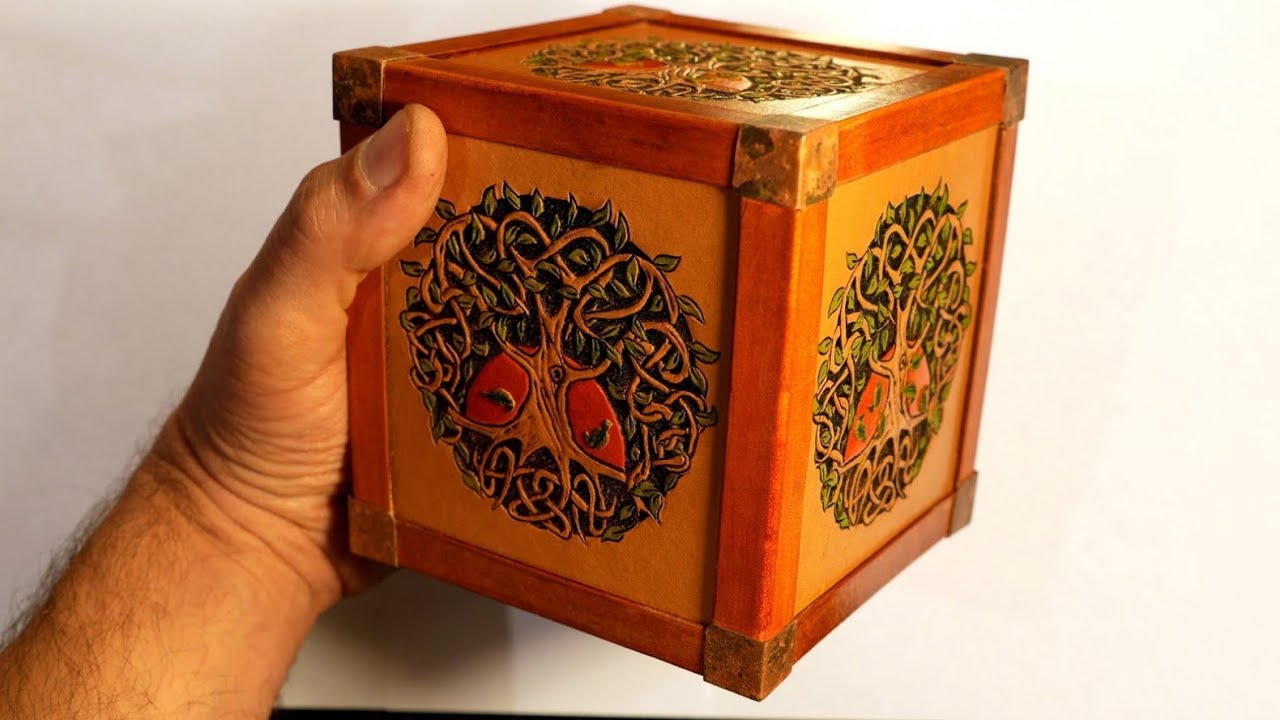
Brass Accents: Add brass corners, hinges, or handles to give your box a more elegant touch.
Secret Compartments: Build a hidden compartment within the box. You can access it through a false bottom or a disguised door.
Celebrating Your Magical Creation
Once your magic box is complete, you'll be amazed at what you've created! It's a tangible reminder of your skills and creativity. Fill it with your most prized possessions, trinkets, or even your deepest secrets!
And remember, this is just the beginning. As you gain more experience, you can experiment with more complex designs, intricate details, and unique finishes. The world of woodworking is full of endless possibilities, just waiting to be discovered. So go ahead, embrace the magical journey, and let your imagination take flight!
Tips for a Magical Experience
Practice Makes Perfect: Practice your cuts and assembly techniques before working on the final box.
Take Breaks: Woodworking can be tiring, so take regular breaks to avoid frustration and ensure you're working safely.
Enjoy the Process: Don't rush the process. Savor each step and enjoy the satisfaction of creating something with your own hands.
Happy crafting, and may your magic box bring you endless joy!
No comments:
Post a Comment
Note: Only a member of this blog may post a comment.